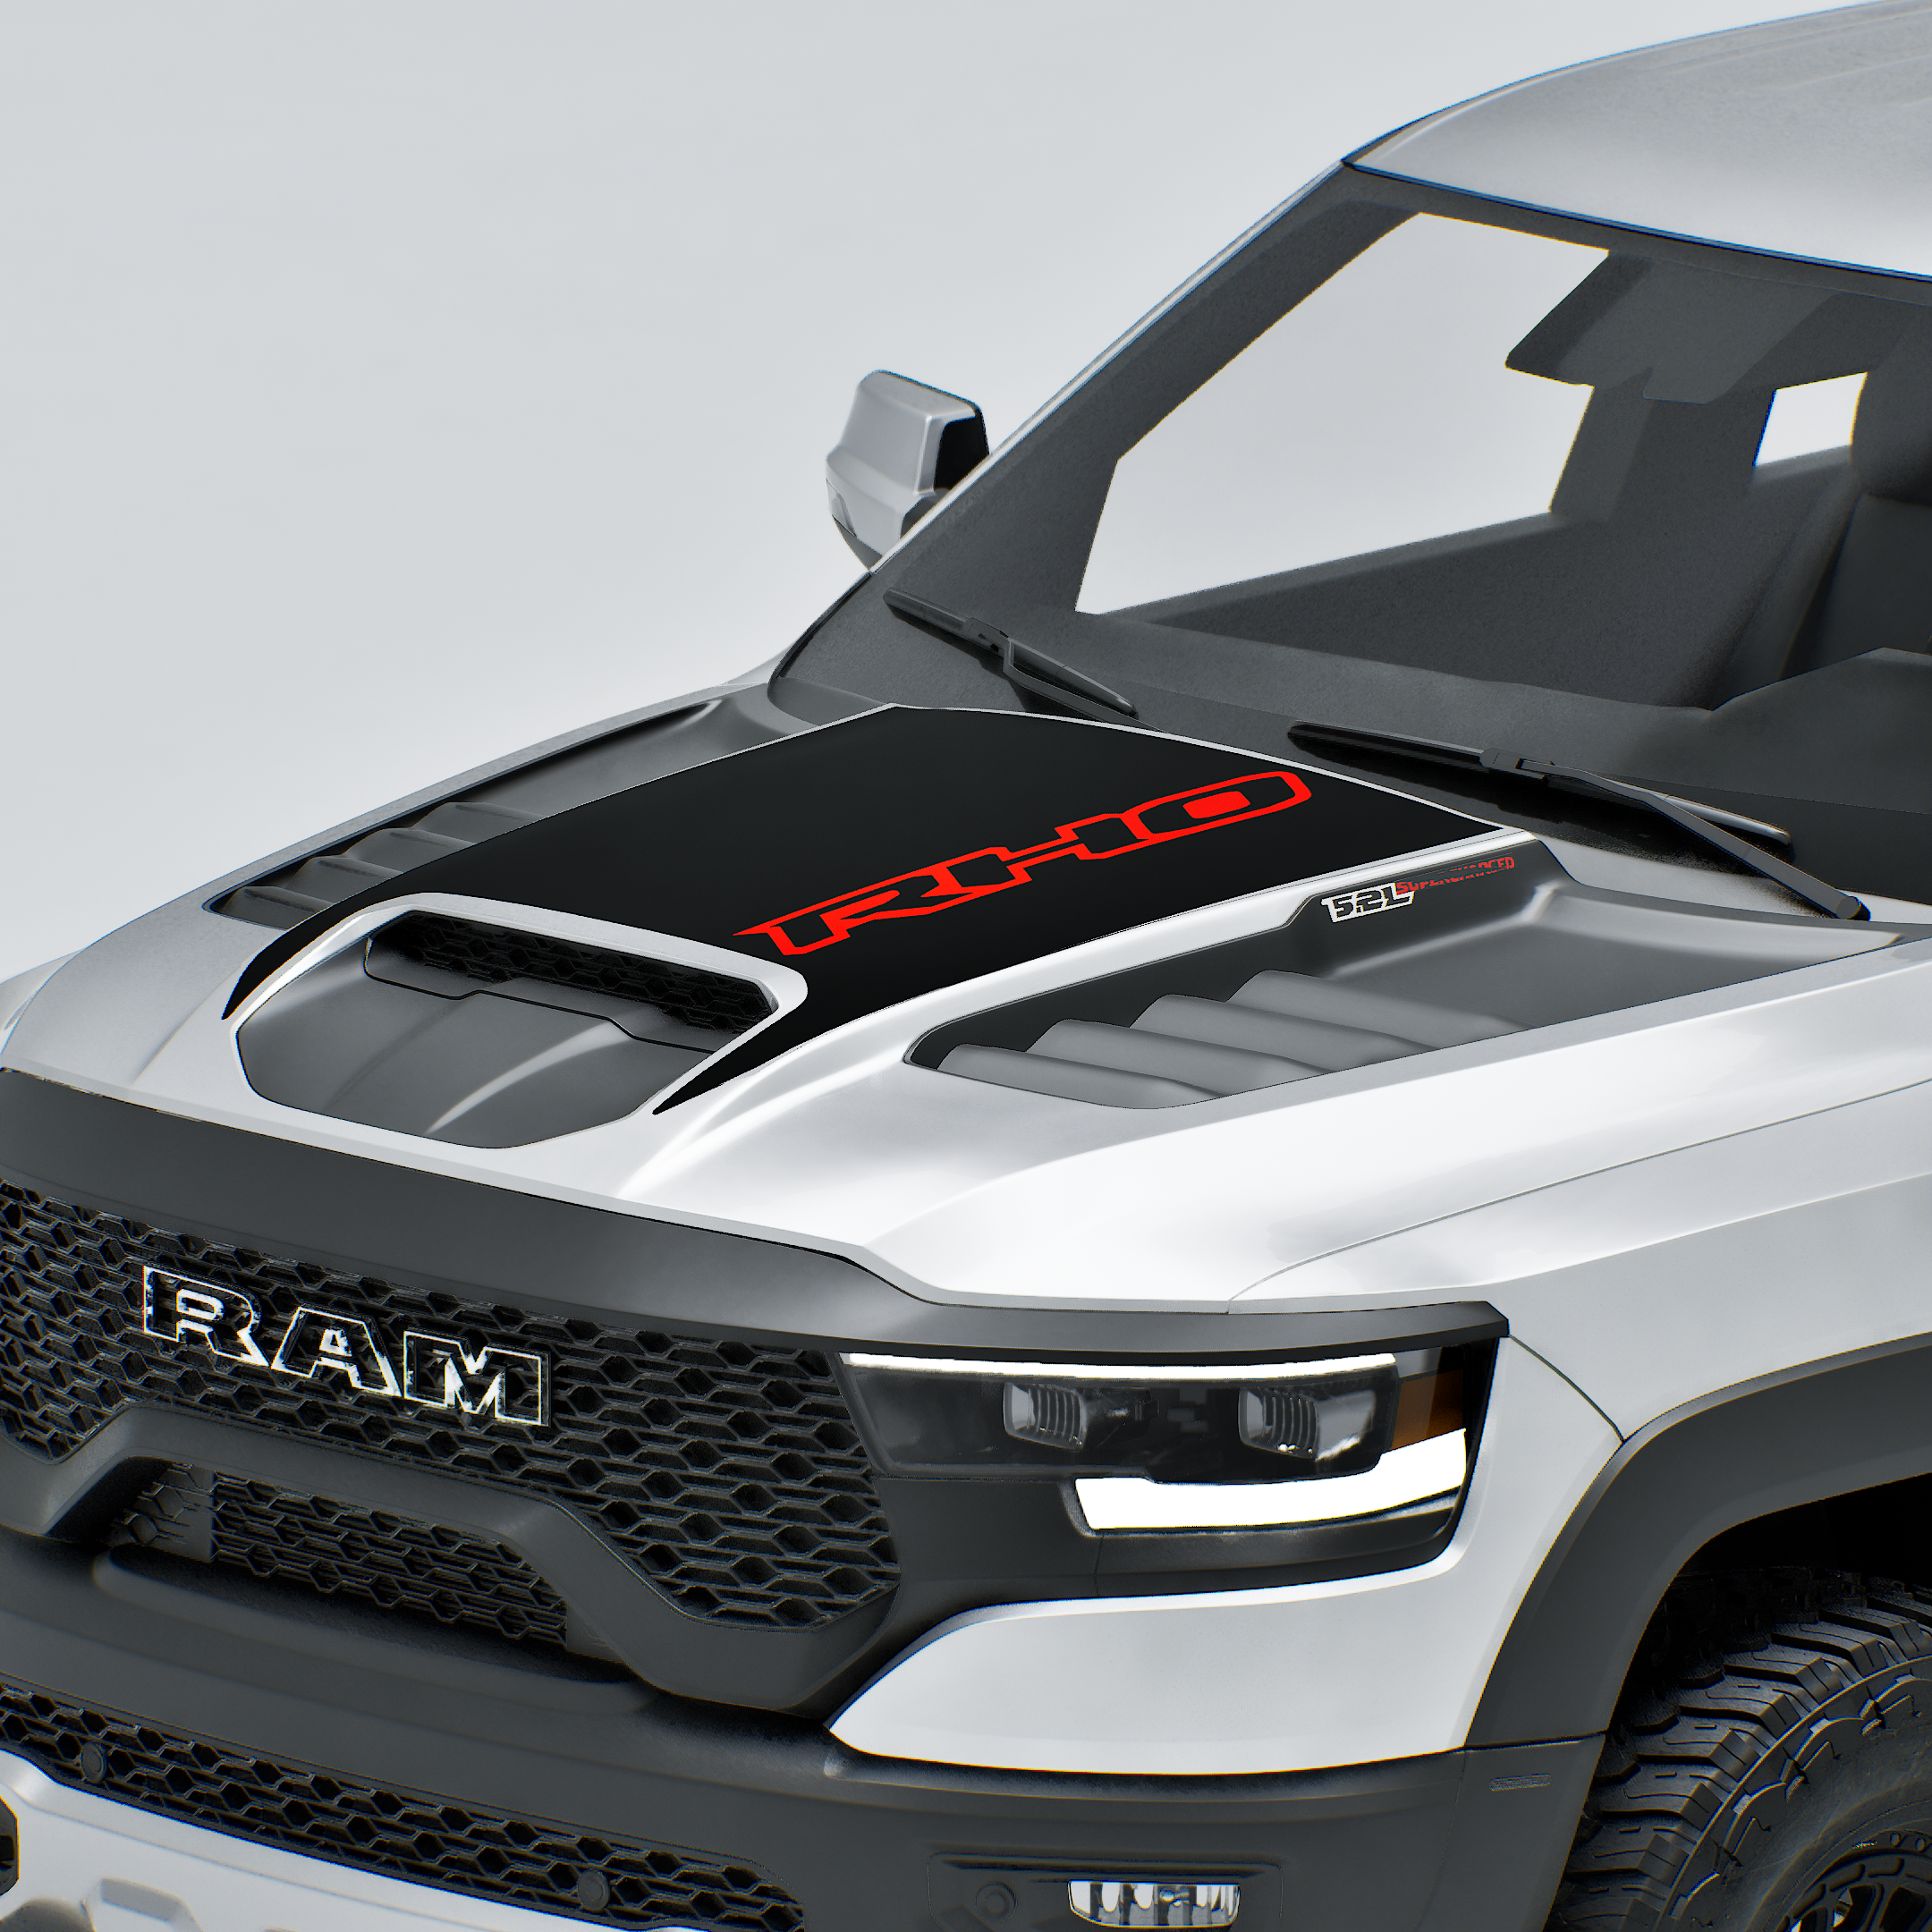
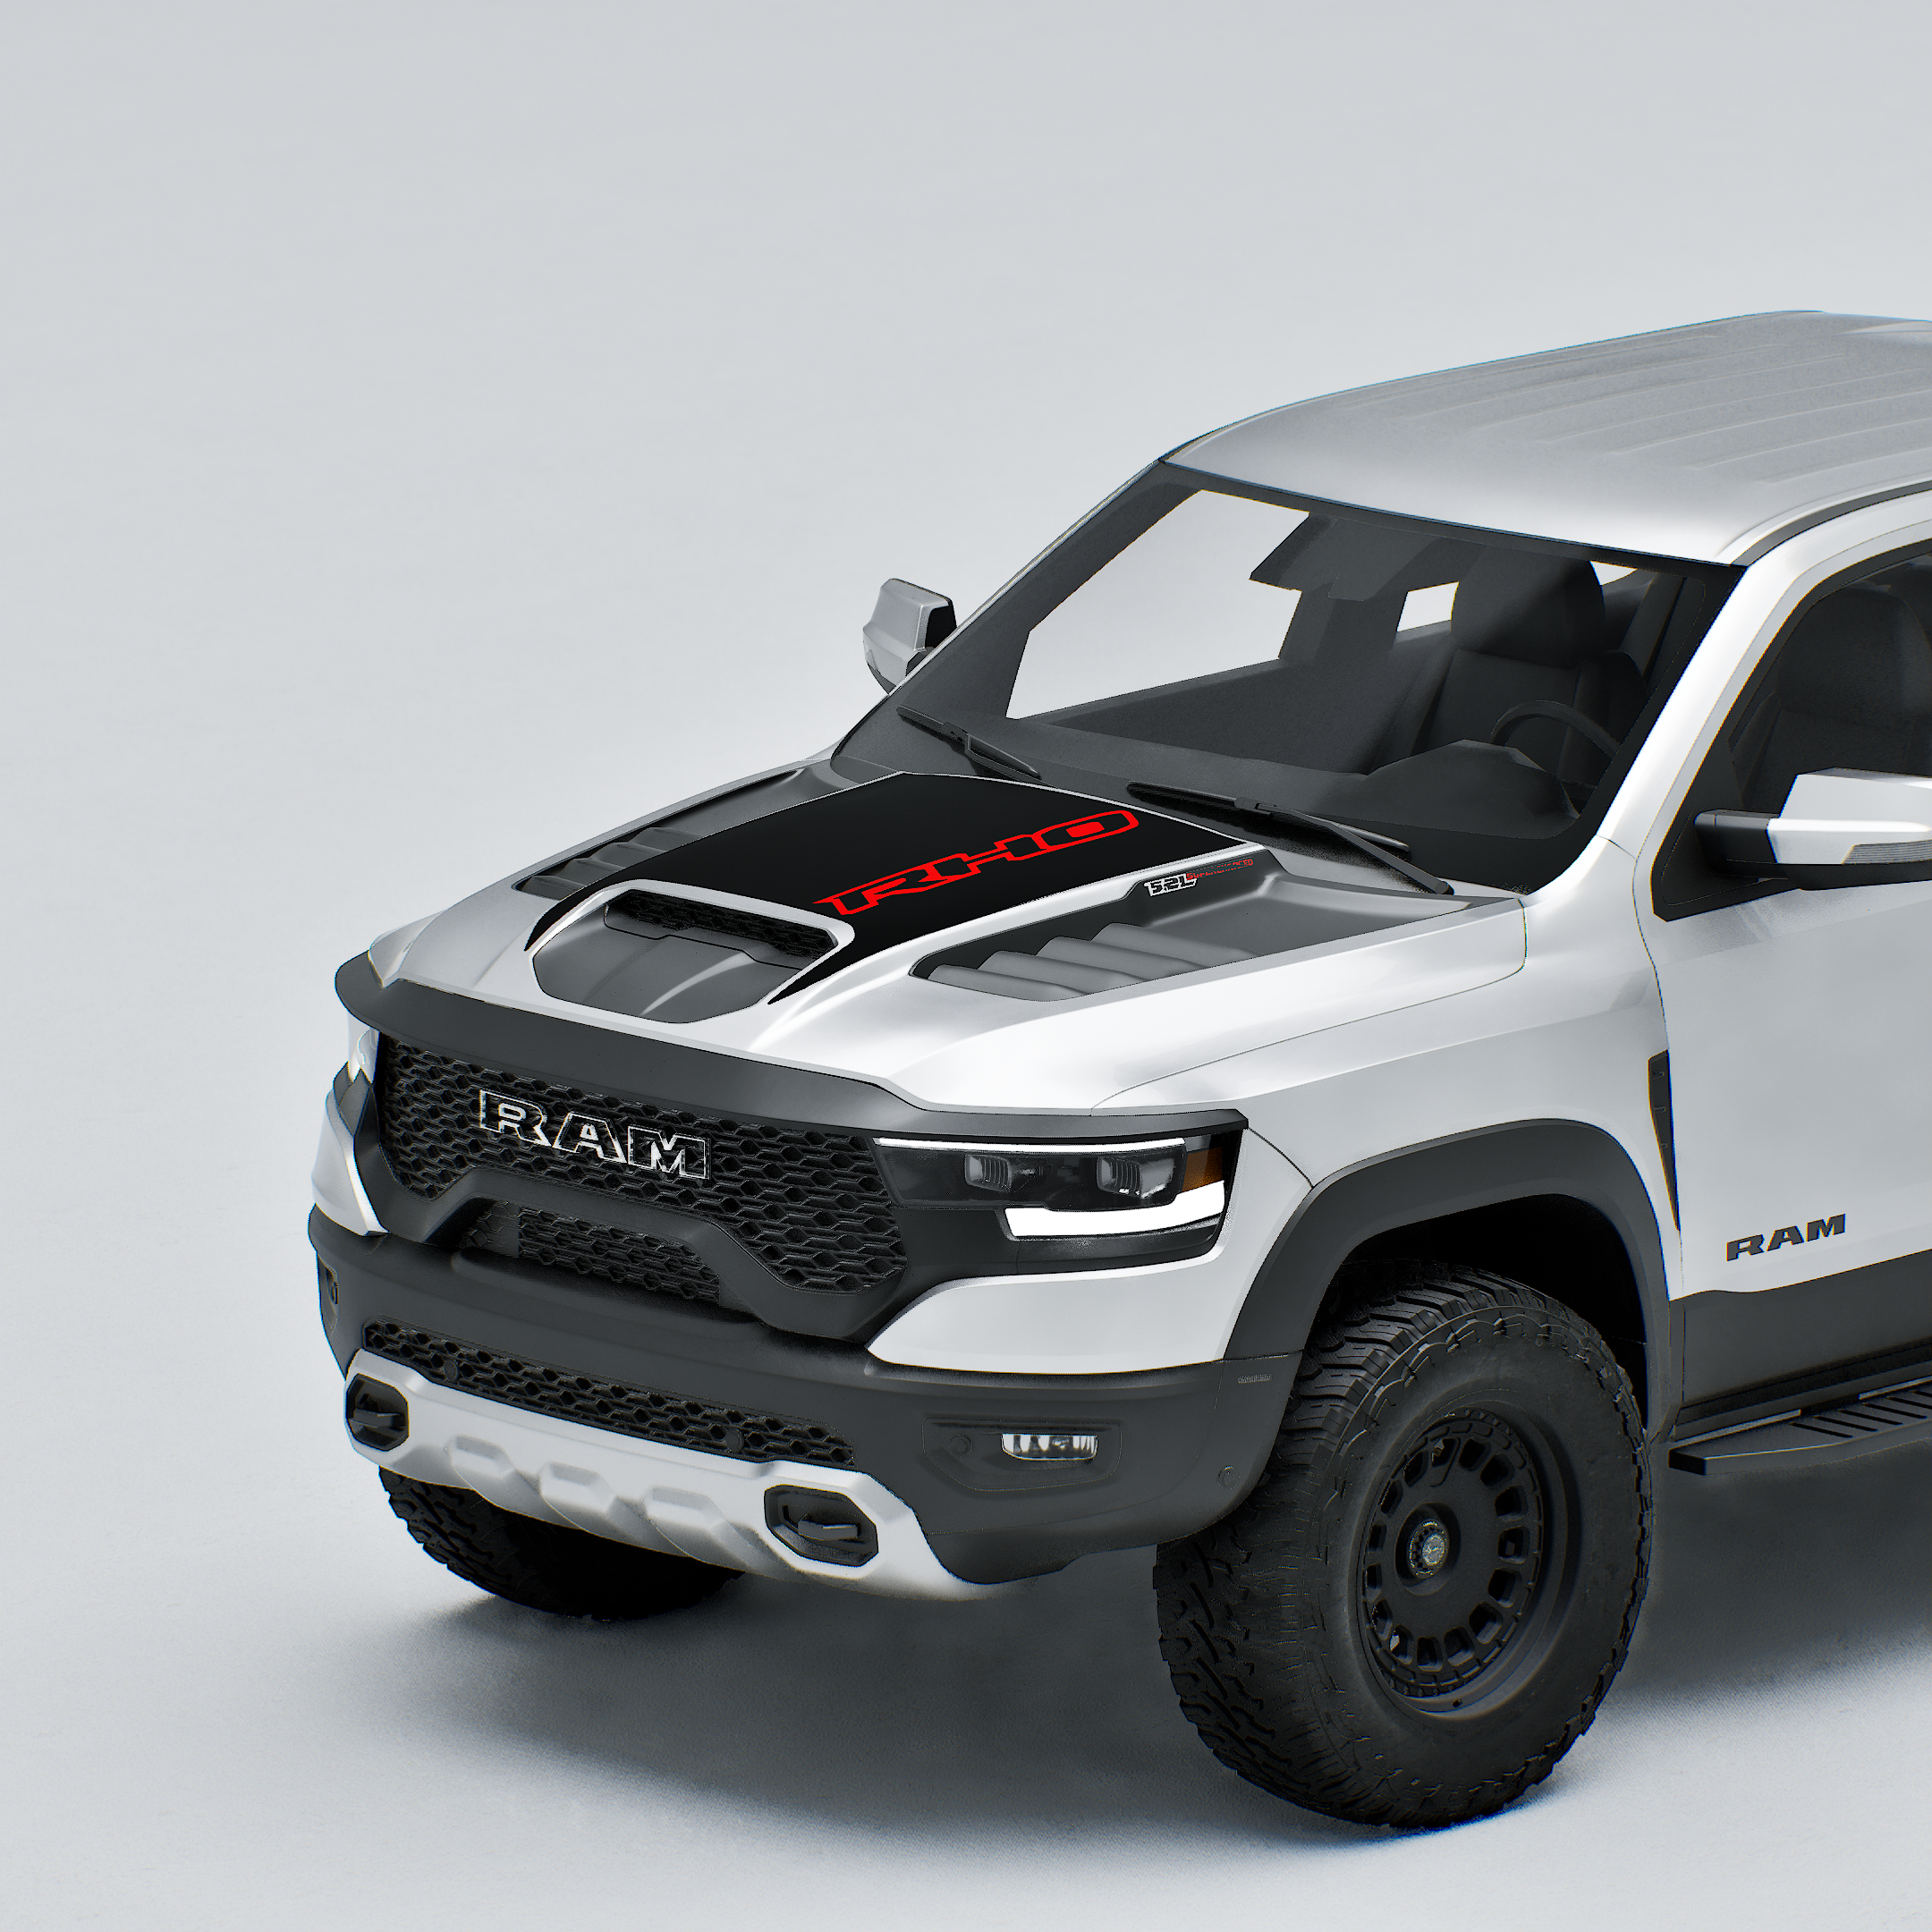
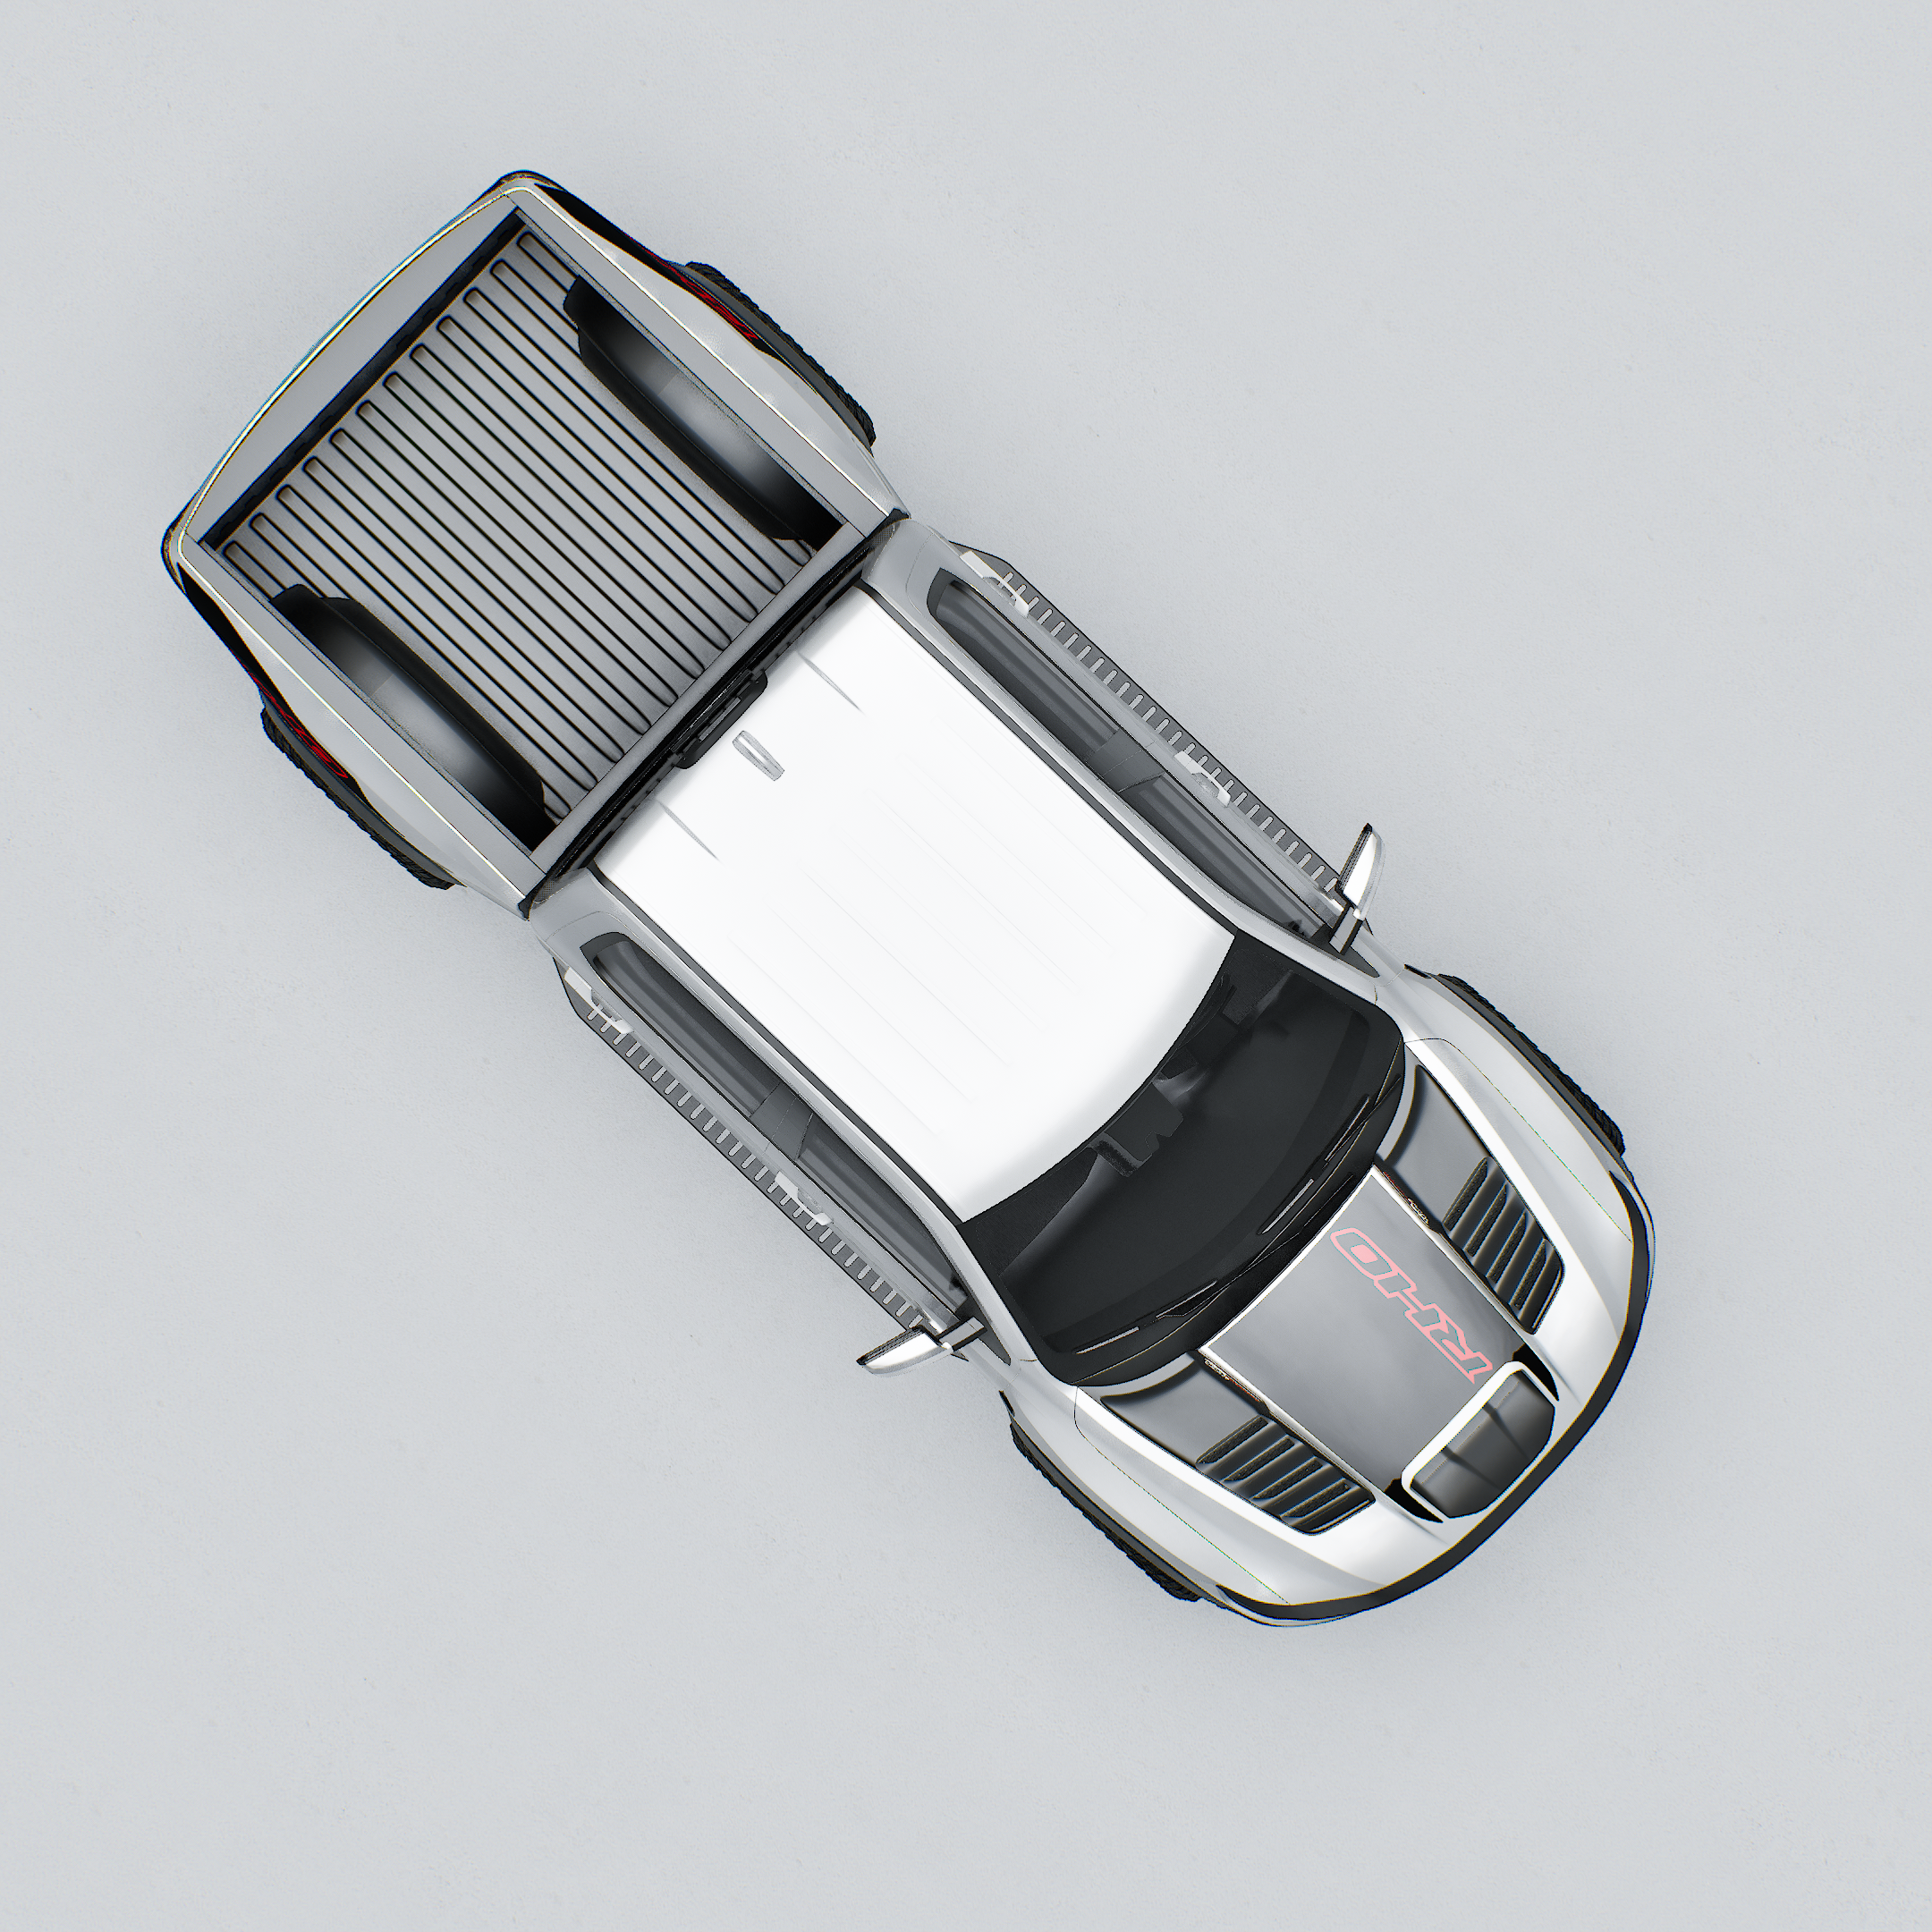
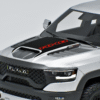
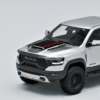
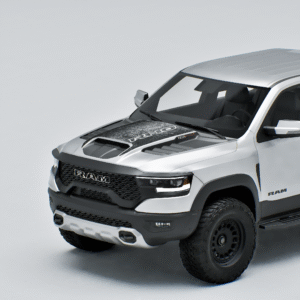
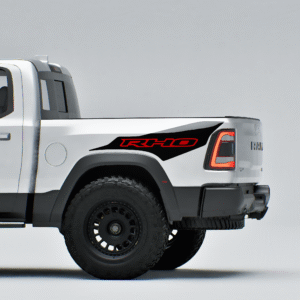
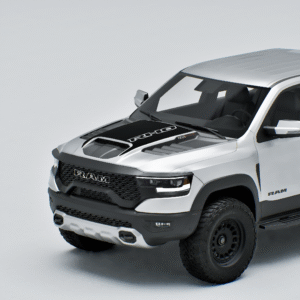
Description
Style your RAM RHO with The Best Damn Decals from Rumble Wraps!
Introducing our color series: Blackout+. Custom printed and machine cut from high quality CAST vinyl with MATTE FINISH, these decals add that much needed touch of color to your build. These professional grade vinyl decals allow for easy installation over 3-D shapes and cutouts. The air release feature allows for bubble free installation. All Blackout+ products come with a proprietary flexible topsheet (NOT CHEAP STIFF PAPER TRANSFER SHEET LIKE ALL OF OUR COMPETITORS! *Read More Below) that can flex and breathe with the vinyl providing superior scratch protection during installation.
*Why does a flexible topsheet matter? Try wrapping a basketball with newspaper. How far can you wrap it before you get wrinkles? Using a paper transfer paper (which all of our competitors do, because it’s CHEAP) means they are selling you a flexible vinyl decal with a stiff, non-flexible transfer sheet and it’s ONLY suitable for simple curves (think of wrapping a cylinder with christmas wrap for example). I’ve installed lots of competitor graphics over the years in order to make our product better. These cheapies will result in wrinkles, possible re-purchases, and lots of swearing. Our flexible top sheet allows for COMPLEX curves (the object is curving in two directions- which is almost any surface on your vehicle). We’ve been vinyl and wrapping designing graphics for vehicles since 2013 and we make these to be installed quickly and accurately with a professional finish, like many OEM grade decal kits but even better. Don’t get SOLD by cheap competitor’s graphics. Trust the Rumble Wraps process baby!
-Troy D, owner & legendary installer (yes I said it)
Installation Guidelines FOR RAM RHO:
- Professional installation is required for all products
- Installation area should be temperature controlled at 68-72 F
- Installation area should be enclosed, clean, well-lit, and dust free. Installation should never be done outdoors.Â
- Vehicle should be washed and cleaned thoroughly removing any and all contaminants on general areas where decals will be installed. Extend cleaning 6-12 inches beyond the area of decal installation and clean thoroughly above the graphic area to avoid contaminants falling down into vinyl during installation.Â
- Final prep should be done with 70% isopropyl alcohol or 3M Adhesive remover. Clay bar detail if necessary to remove stubborn contaminants.
- Never attempt installation without the proper tools.
- All decals will be installed using the hinge or band-aid technique, using tape or magnets to make the graphic stationary in the center and installing one side first, then the other.Â
- Squeegee technique must be as follows: Softer pressure during initial pass to secure graphic into place. Apply firm pressure for second pass at 45 degree angle overlapping strokes 25-50%. Thoroughly press all air towards outer edges. Squeegee in columns or rows to avoid bubbles. Ensure thorough contact of adhesive on the entire decal.
- Remove topsheet line using proper technique: peel at 45 degree angle when possible at extremely low profile (backrolling against vehicle). Peeling at high lift angle can result in creating unnecessary bubbles or weakening the adhesive bond and can cause decal failure.
Cleaning Guidelines:
- Hand wash gently with pH balanced car wash soap.Â
- Ceramic Coatings may be applied, however coatings are NOT warrantied by Rumble Wraps. Rumble Wraps is not responsible for any issues that may arise from your ceramic coating your decals.Â
- Do not apply wax to matte or satin finishes.Â
- Ceramic booster detailing sprays can be applied after washing. Rumble Wraps is not responsible for any issues that may arise from you applying detailing products to your decals.


Reviews
There are no reviews yet